Most video editors also allow You to change the duration of each image by clicking on the plus or minus marks. If you’re unsure, click the play button of your project to check how your movie looks and then change as needed.
1. Watch and learn from other travel videos
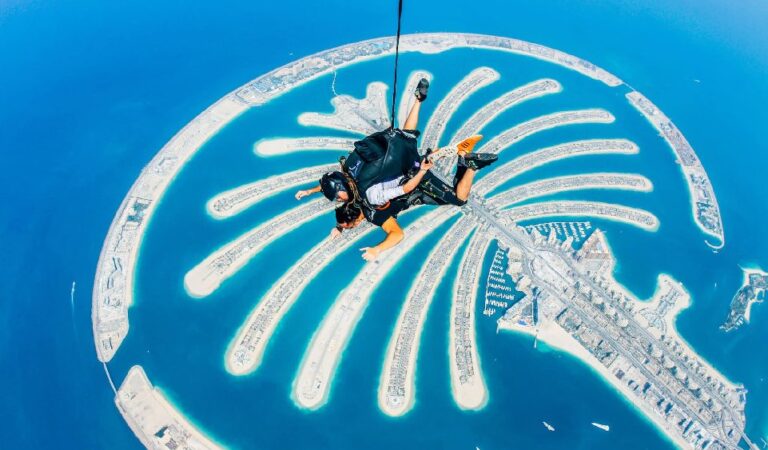
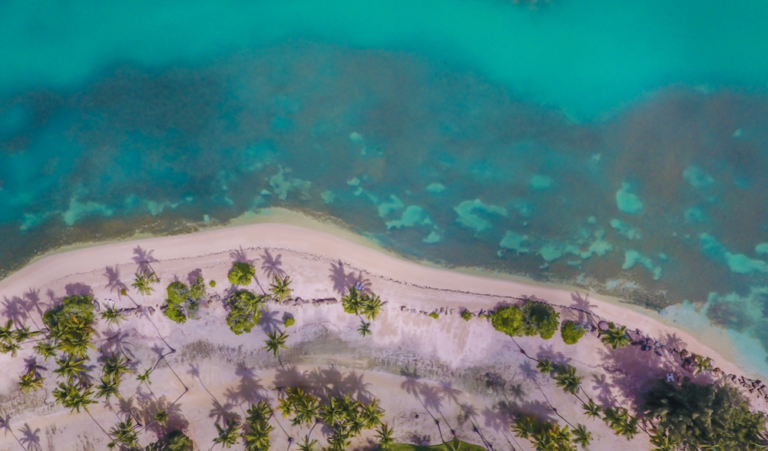
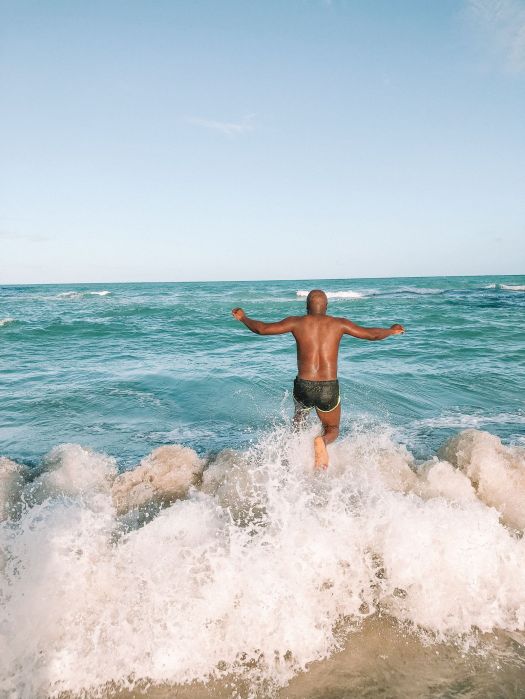
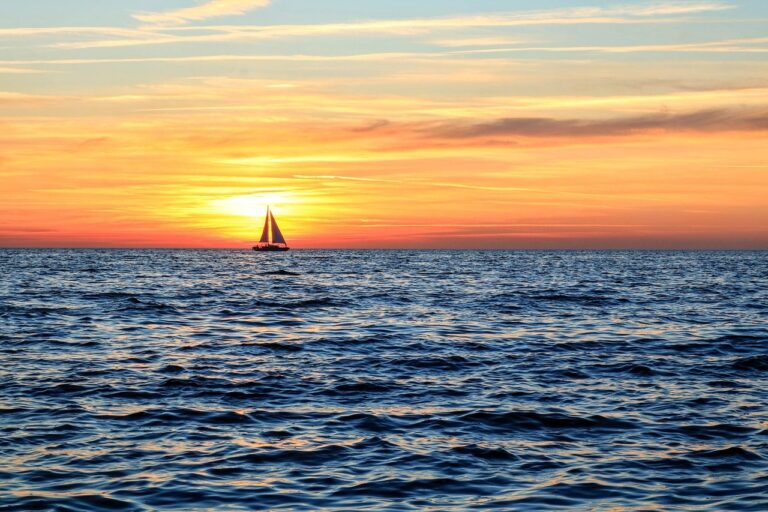
We all enjoy traveling, and that’s with good reason. It helps us to unwind, reduces stress in our lives, and just improves the whole experience. But, if you enjoy shooting photos while traveling, why not attempt making a film out of your trip images? This is one of the most creative and unique ways to share your experiences with others. It works marvelously and brings to light some of those one-of-a-kind experiences. However, you do need to have an idea of what you want to showcase when you create such a video. This article will have many pointers that you can follow to make a beautiful travel video.
2. Collect and organize your travel photos
When you’ve located the music, click the + symbol next to it to add it to your video. Then, your project hit the play button.
3. Add your photos
You can also change the placement of the text on your video by clicking and holding down on the text box while dragging it to the appropriate area.
Aside from creating a title and a subtitle, there are a few more alternatives to choose for additional customization. You may use the sliders below your text to change the size, change the colors of your text and backdrop, or remove the text field entirely from the block.
4. Focus more on the journey rather than yourself
In order to create video from photos you get to add all those aesthetic photos you took on your trip to your project and compile them in an order that you’d like for them to show in your video.
Travel videos are an excellent way to record your journey, tell a specific narrative for a client, or simply share the beautiful scenery you encountered with the rest of the globe. In this article, we’ve gone over how you can create videos from photos, mainly travel, and what you should look out for when making this style of video. There’s no denying that it requires a lot of effort. However, the beauty of creating videos, especially when you have a platform like YouTube to share them on, is that you can interact with thousands of people from all over the world.
5. Add some text
Finally, select a piece of music that complements the tone of your film. You may utilize music tracks from your video editor’s music collection in your video. If you’re stuck for ideas, here’s a guide with a list of suggested songs for vacation videos.
The first step is to choose your favorite images and videos from your vacation. When we travel, many of us snap hundreds of images and record many videos. This is the moment to go through all of those travel photos, relive the trip, and select the visual materials that best depict it. Make a new folder on your desktop that just contains the files you want to use in your journey film.
If you are satisfied with the quality of your travel film, it is ready to be exported and shared.
6. Select music
Just like most other skills, travel filmmaking is best learned through examples. Before you jump in and make a video, watching and observing other travel videos will give you a general idea of how travel videos work and will also help you come up with your style of video. You can find countless travel videos on various social media platforms such as Youtube and Instagram. Many creators are also helpful and list the type of gear and software they use to make such videos, so this is a great place to start from.
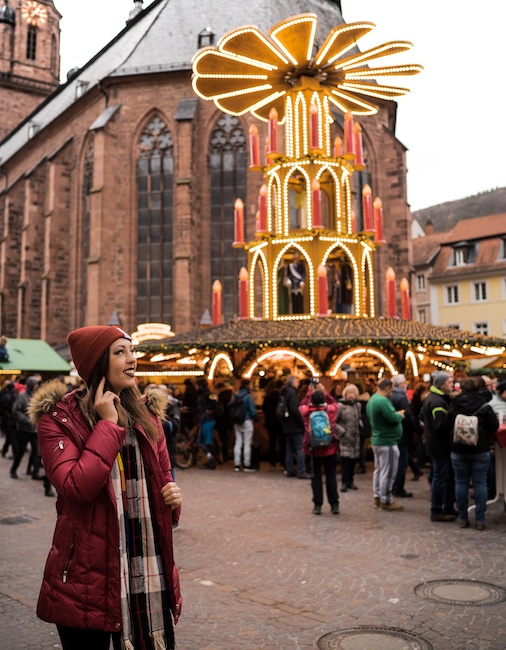
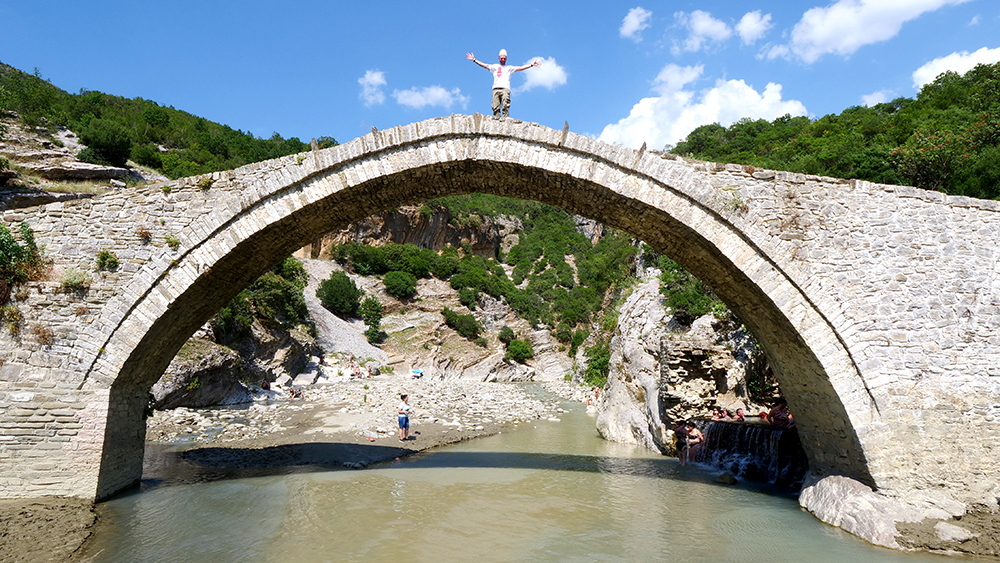
Lately, most journey films focus on the traveler itself and how wonderful their lives appear to be, which is not what travel videos are about. Travel films are meant to convey a tale about a region, to show off the scenery, the inhabitants, the food, and so on, not to be a platform for you to brag about your life.
The following step is to recount the tale of your journey. Even a few words added to each photo or section might offer context for what you want viewers to know regarding your travel. You can always create a title or subtitle by selecting the Add Text option.
7. Export It Properly
The trick to preserving quality is to save your video in ProRes422 format, which keeps adequate quality without requiring a massive file size, and then submit the ProRes file straight to the platform, which will convert and compress the video for you.
For example, if you filmed a good portion of your video at 60fps, set your project to 60fps when editing and export it in ProRes or RAW format at 60fps. You might ask why RAW is used? It’s so that if you have a high-quality backup, you may then convert the RAW or ProRes file into a different format, which is significantly faster than converting directly from the source.
Do not compress your video to MP4 on your own since Youtube and other services will compress it again, resulting in even greater quality loss. This is quite useful if you want to keep the grain look in your old cinematic travel footage.
Shoot fewer movies of all the parties you attended in a nation and more of the local people, architecture, and history, and weave them all together to present a unique and fascinating tale that will encourage others to follow in your footsteps.
Bottom Line
Last but not least, export your video with suitable settings so that your hard work is not undone by a shoddy result. A decent rule of thumb is to export it in the greatest quality feasible, using the same specifications as the source.